I have become obsessed lately with Picmonkey. I use it for all my blog editing, and I have so much fun creating images for my blog. I’m glad I’ve never done digital scrapbooking, because I’m pretty sure I would become totally consumed and obsessed with that too. Since I’ve been having so much fun playing around with it, I feel like I’ve gotten a little better at it, and decided to design my own Christmas card this year!
I did this because I saw a cute card on Minted.com that I LOVED the saying that was on it, but I didn’t want to pay their prices. You can see the card I was coveting here. I just knew I wouldn’t find that saying on a less expensive card and their price for 100 cards would have been $163!! Mine? Cost me $50. I’d say that’s a pretty good amount of money to save at Christmas time! I’m in LOVE with how it turned out. Printed it on 5×7 photo paper at Costco, and I’ve got a modern looking card for 1/3 of the price. LOVE it.
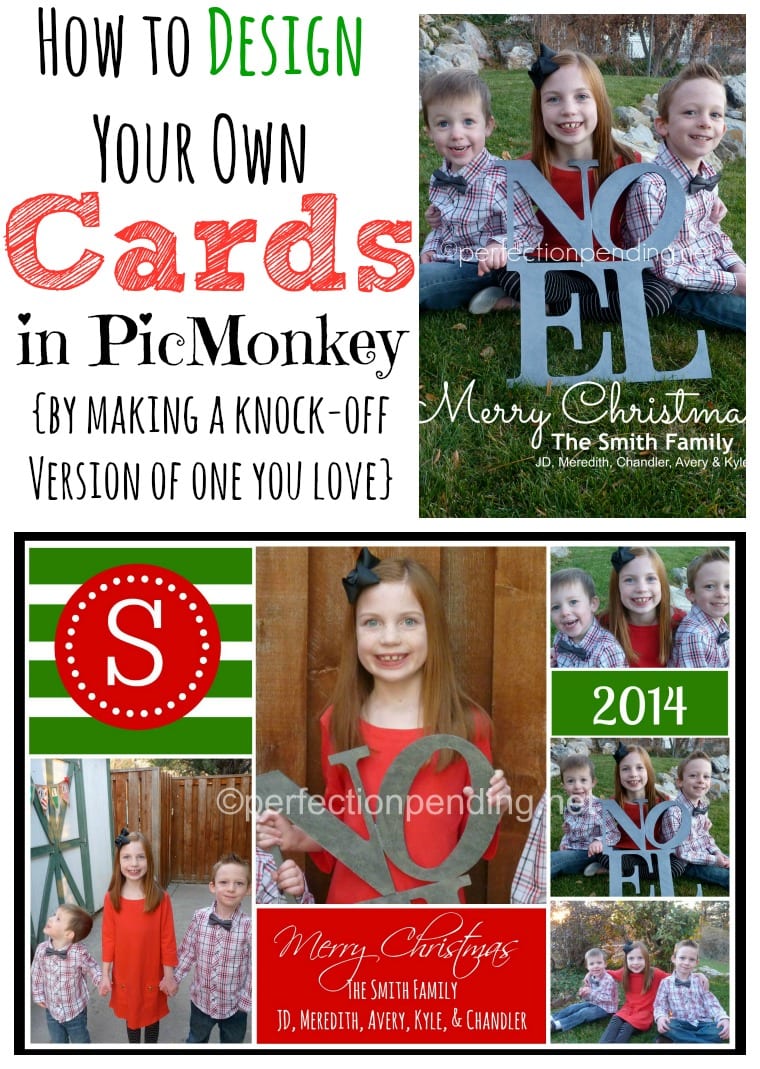
So, I thought I’d do a couple of simple tutorials to help you design your own Christmas card (or a birthday invite, baptism announcement, baby announcement, etc.) that you can save money on! Ready?
Simple Photo Card with Text
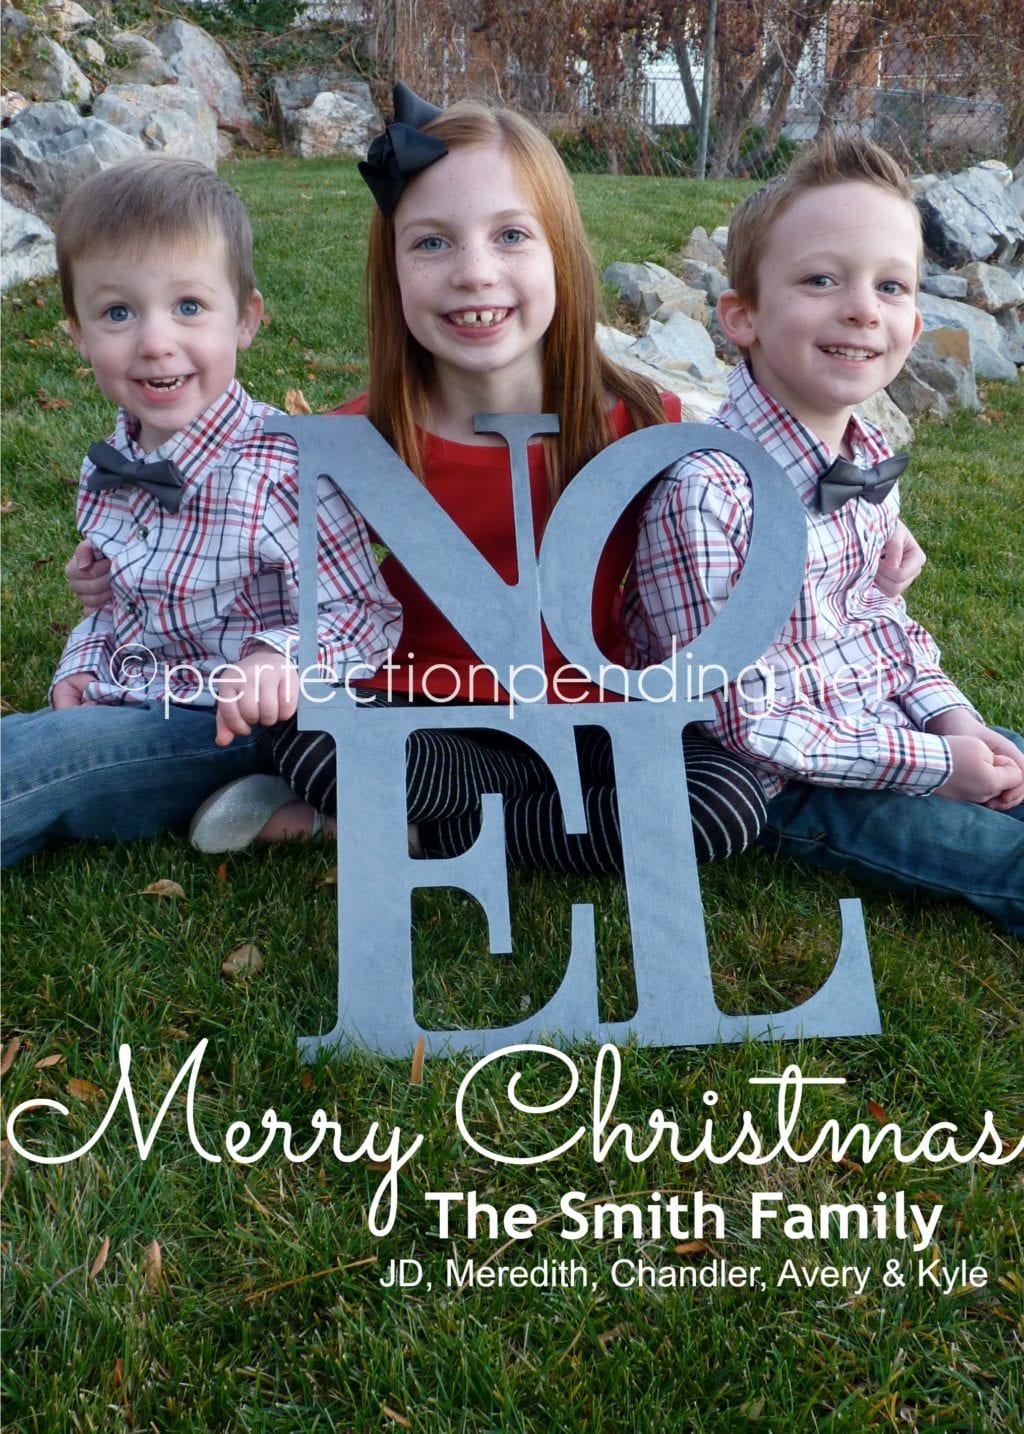
I see so many cards on shutterfly and minted and other sites that just have simple text. I got the inspiration for this one here. This kind of card (like my actual Christmas card) is SO simple to do in PicMonkey.
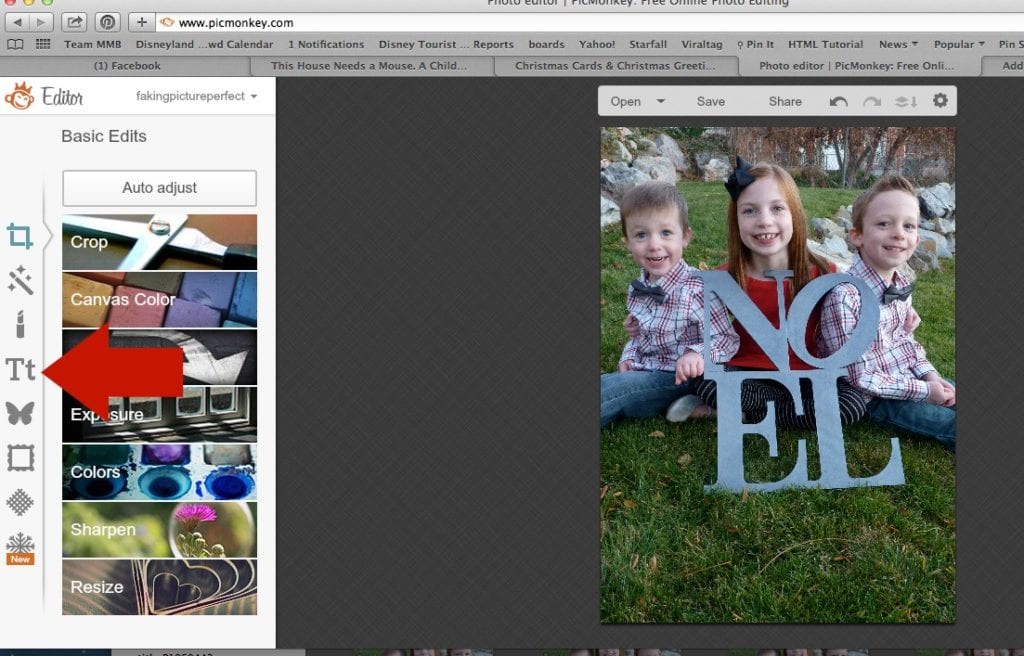
First, go to Picmonkey.com and click on the option for edit and choose the photo you want to work with.
A pop up box will show up, I always use the Bubbles setting.
The next thing you’ll want to do is choose your size. I printed my cards this year just like photographs, but in a 5×7. On the left hand side choose the crop option. It will default to “no fixed proportions” Click on that and choose the size you want (5×7 in this case). Move your cropping box around until you have the portion of the photo you want to have printed. Click apply.
Click on the Tt on the left hand side for text. Choose a font. And click add text. Type in your text in the box. We’ll work on size and color in a minute.
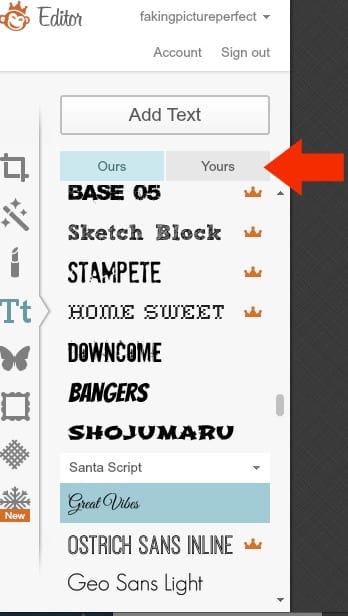
For my card, I chose Sacramento. However, there are a lot more options for the upgraded version of pic monkey. I highly recommend upgrading if you blog, or have any use for a simple editing program. But, in case you’re using the free version, I am choosing a free font. There are also lots of free font options on line that you can add to your computer. You can use those in Picmonkey by clicking on the Yours button and the fonts will show up there.
Pretty awesome huh?
OK, now we want to make the font bigger, and white. You can change the size by dragging the top right corner of the text box out, or simply putting in a bigger number in the font box, or you can drag the text bar to a bigger size. To make sure your text is centered, make the text box the same width as the photo as shown below.
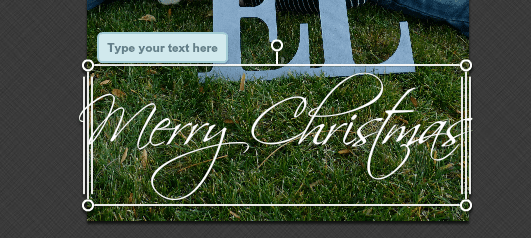
Then click the center alignment button. To change the color, use the color box. However the code for white is ffffff and the code for black is 000000. You can also look up HTML codes for colors online here.
Like the example card, now you want to do another font smaller for the names. I recommend clicking on the text box again instead of trying to manipulate two fonts. Picmonkey works by layering things, so it’s just easier to add another text box. Repeat the process by adding additional text how you want. Easy peasy, right?
Save it. Make sure once it’s saved out of your computer, you don’t close out of PicMonkey unless you’re totally happy with your final product. Because you’ll just have to start from scratch again. That’s one of the drawbacks. But, that was pretty easy wasn’t it? Now, on to something a little more challenging.
How to Make a Collage Christmas Card in PicMonkey
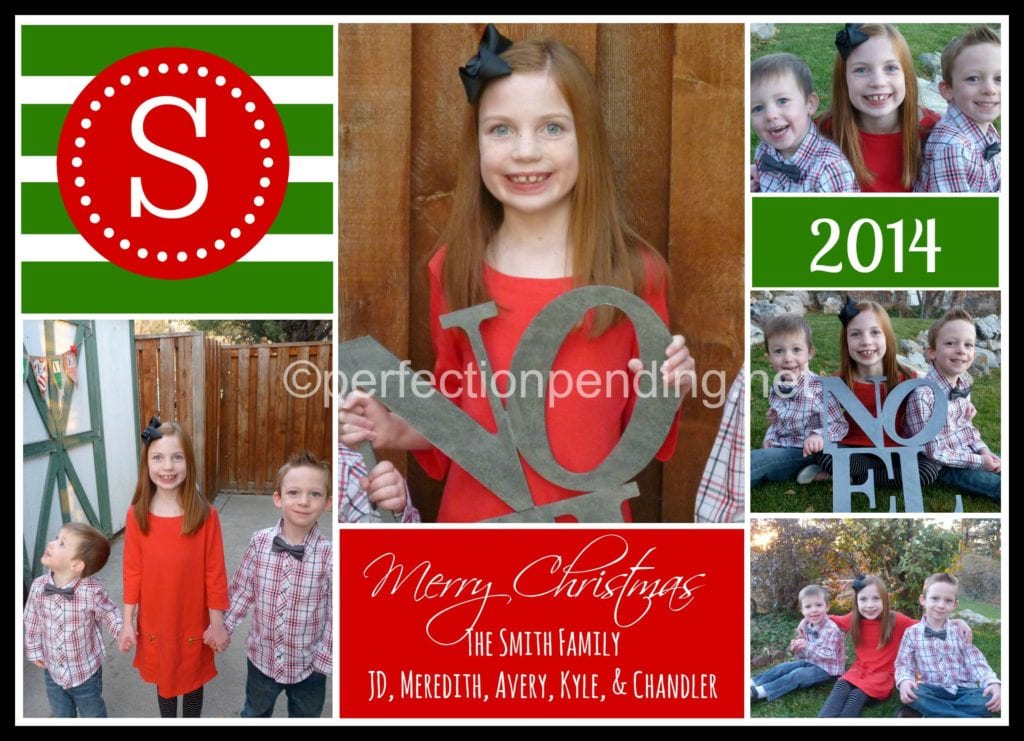
I got the inspiration for this card on Shutterfly. You can find it here. Mine won’t be exact, but if you take a look, it’s pretty darn close.
Now, if you feel like you’d like to tackle something a little bit harder, I thought I’d show you how you can create a collage in Picmonkey like the one above.
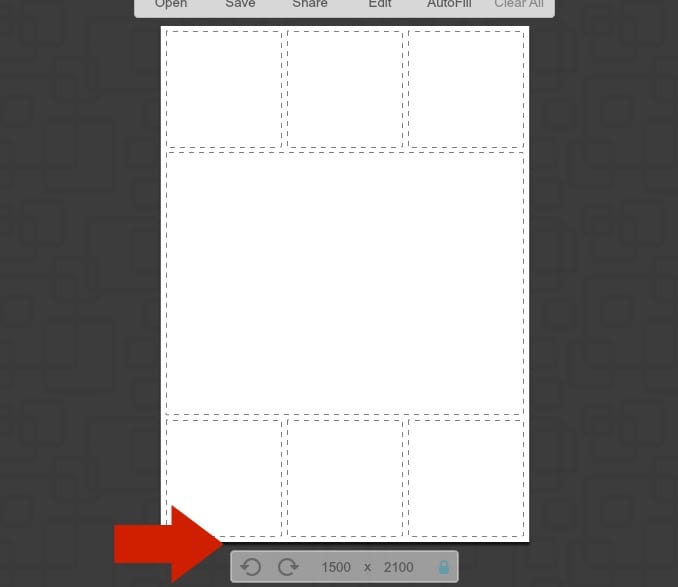
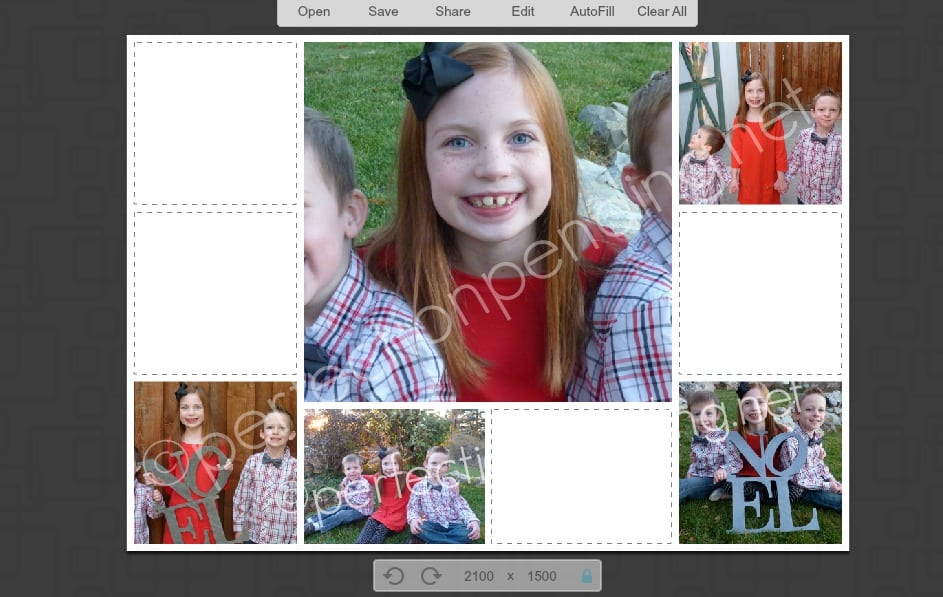
1. Go to Picmonkey and choose collage. Then, choose your photos and drop them in just like before. Next, click on the icon that looks like a tiny collage on the left hand side and choose the card option. To make it easy, choose the 5×7 option. Pick any of the collage options because we can customize later, but since the card we are copying has 8 squares, I chose the one with the most squares. Hit the rotate arrow at the bottom to flip it horizontally.
Next drag and drop 4 of your photos into the right spots. (We’ll fix square sizes in a minute)
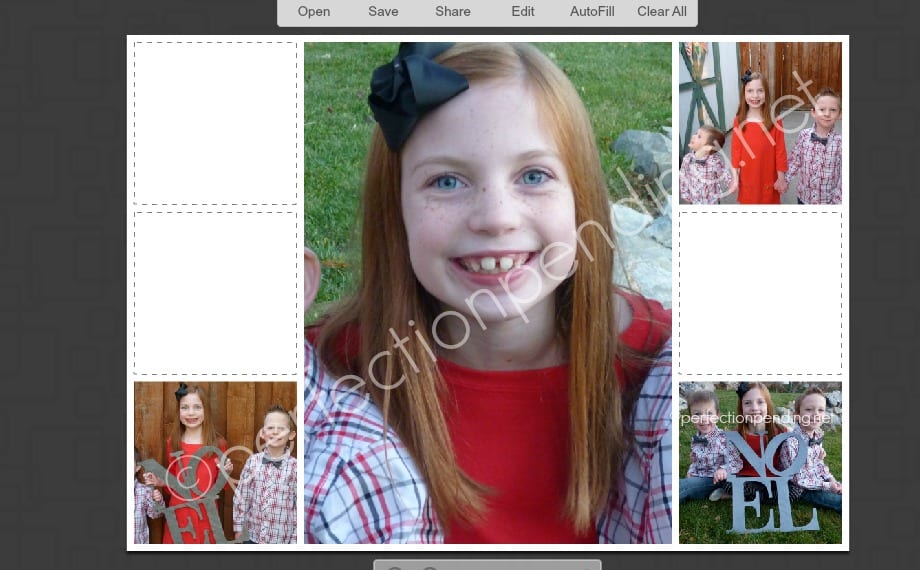
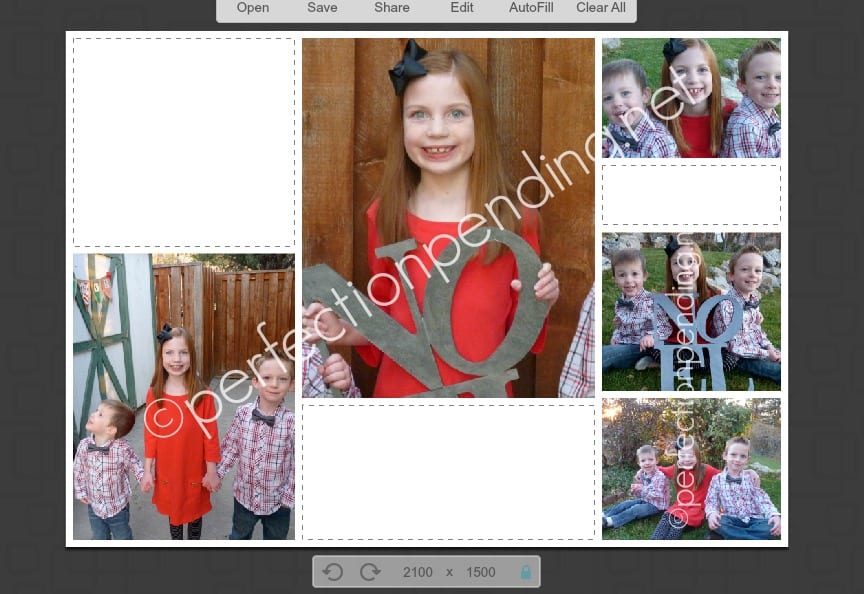
Now we have to manipulate the box sizes. You can click on the dotted lines and drag the boxes around to change the sizes and width. You can also delete boxes you aren’t going to use. You can also create a new spot. We need one more photo added, so I’m going to create two new spots below the main photo in the center. You’ll see a gray box pop up when you know you’ve got it in the right spot. Make sure you add it right under the main photo instead of along the entire bottom. Add the same photo twice, but then delete the duplicate. That will leave a blank spot in its place.
Play around with the photos and squares until you can get it like you want it. For the sake of this post and the photos I had, I swapped a few things around, and I’m going to switch two boxes on the bottom to be slightly different than the main card.
The last thing we need to do before we open it in editor is to change the spacing. I like it a little thinner between photos. To do this, click on the icon on the far left that looks like a painter’s brush and pallet. On the top, you’ll see an option for spacing. Adjust that to your liking. You can zoom in on your photos and do some editing too in this mode. Hover over a picture and click edit and you’ll see more options. But, we’re going to assume you like them how they are, and are ready to add text, so click edit at the top and “open in editor”
To add a colored box, click on the butterfly, choose geometric, and then rectangle.
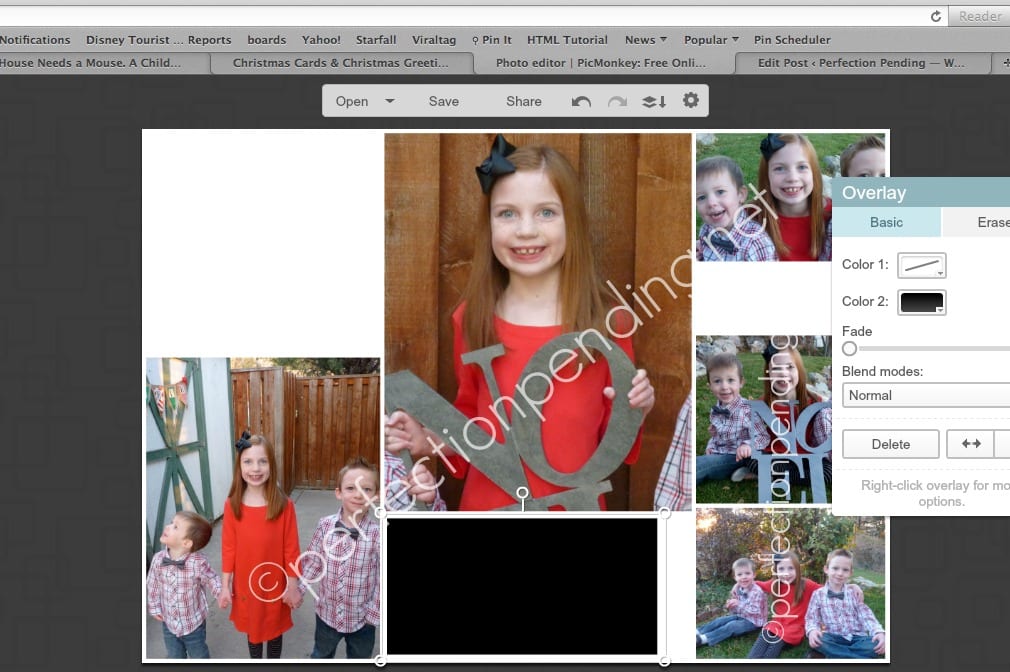
Adjust the size to fit into one of the blank boxes. You can change the color and add text in a minute. Once you have the spacing lined up with the rest of the collage, choose a color. I chose a bright red to get the same look of the card we are copying.
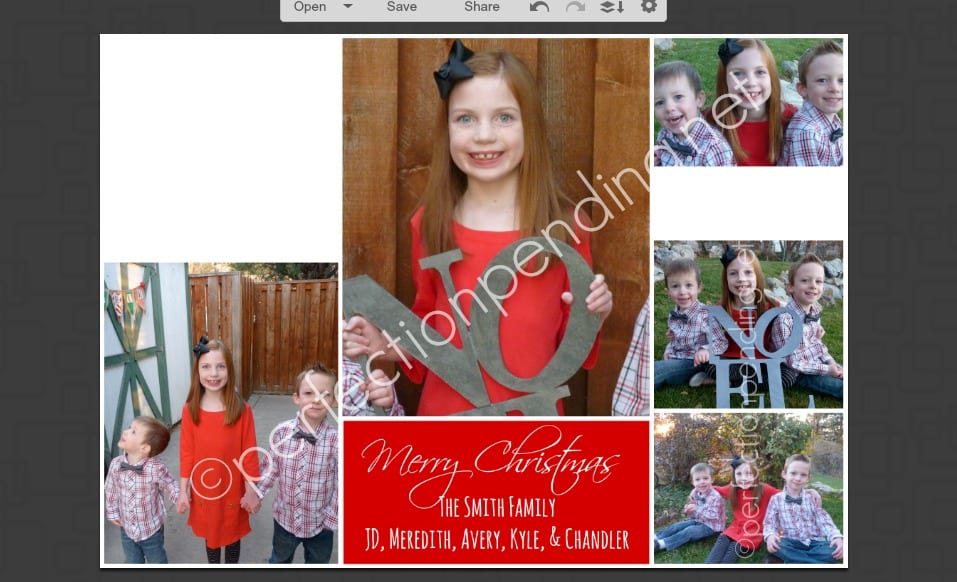
Now, click on the Tt on the far left for text and do your text like you did in our first card example. (see above)
Now, add another rectangle for the spot that says 2014, add text and size it how you want it.
Last, we’re going to have to create stripes in the top left corner. Use the rectangle feature to create your first stripe, and match it to the text box where the date is. Once you have the width and color you like, you can simply duplicate it again by right clicking on the box and choosing duplicate overlay.
Once you have 4 stripes, the time consuming part is to make sure that they are lined up right, and all spaced evenly.
Next, we’re going to go back to the butterfly and click on the circle shape and add a red circle. Make it the same red as your text box below that says Merry Christmas.
The next layer will be the white dots inside the circle. For that, go back to the butterfly icon, and all the way down to labels. You’ll see some dots in the shape of the circle. Choose that, drag it until it’s the right size inside the big circle and change it to white. Simple huh?
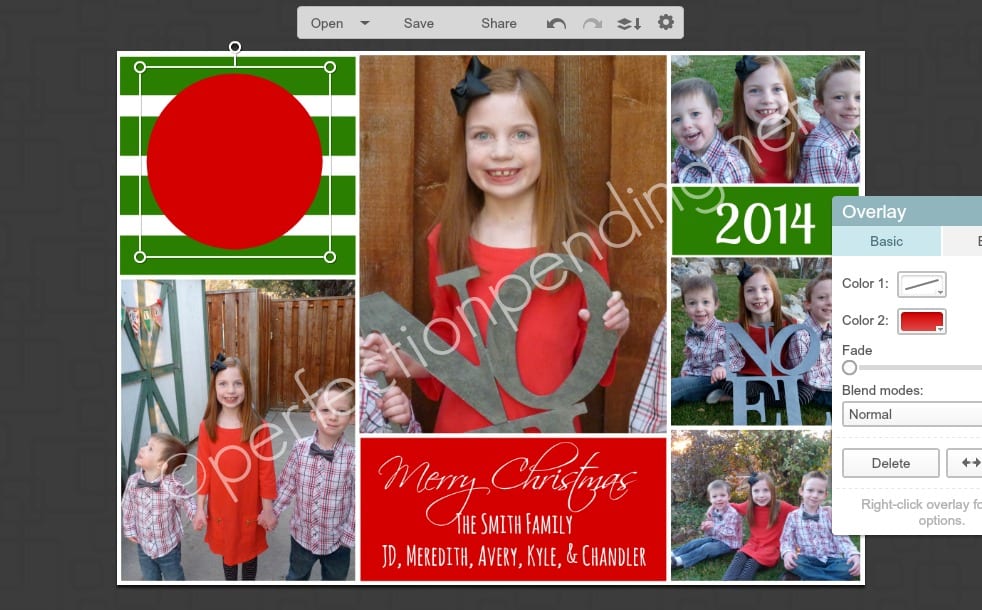
Add some text for your last name initial. Size and change color.
Last, we’re going to add a black border or frame around the entire card to give it a more professional (shutterfly) look. To do this, click on the cute little frame icon on the left. Choose simple edge. And now we’ve got our final product!
 What do you think? Is this a card you’d want to send out to family and friends? Don’t have time to learn how? I’d love to help! Send me an email, and I could help you design one.


Wow! They turned out awesome! I wound up buying a groupon for cards on Zazzle… 110 cards for $44.99. Pretty good deal, right? Anyway, I wanted to edit the photo and your post inspired me and reminded me of PicMonkey! I love that site. Thanks for the inspiration! Now, where did I put my stamps…
Thanks Shannon! $44.99 is pretty awesome. I need to start thinking about those Groupons. 🙂
Those look awesome!
I should probably start planning Christmas cards and letters… Next week. 🙂
Great idea! I never thought about using PicMonkey to creat Christmas cards.